Showing posts with label DIY. Show all posts

Tuesday, April 23, 2013

DIY: Make your Own Natural Iced Tea!

I used to drink Nestea Iced Tea and I loved it. But perhaps as I grew older, my body is no longer able to take in as much junk. I didn't know what happened but I every time I drink the stuff now, I feel something's wrong with my body, or at least my body's quickly reacting to it I suppose. I kept drinking it and saying it's better than soft-drinks anyway. I had to find out by myself and it was horrible. Apparently these Nestea Packets are filled with an artificial sweetener they call Aspartame (same ones they use for Coke Zero etc). The effects of aspartame is really bad that I felt like I was going through a heart attack. I had severe chest pains and I can't breathe well. I wasn't able to sleep because I was going back in forth to the loo, I kept drinking water so as to flush out the toxins I had stupidly drunk.

I said to myself never again will I drink anything with Aspartame on it or any artificial sweeteners. I'd rather stick to honey or at least brown or washed sugar.

But since it's summer here in the Philippines and it's extremely hot!!! I find that turning on the air-conditioner is not enough. You have to drink something cold to replenish your fluids and lower your body's temperature.

Since I like Iced Tea, but don't want to go back to having crazy chest pains due to Nestea, here's what my husband and I did to make one that is pure and healthy.

Ingredients:
Tea Bag (Green, Black, Yellow or Mint will do)
Hot Water
Calamansi (4 pcs) or Lemon (1 pc)
Brown Sugar 2-3 tbsp
Cold Water and Ice

Method:
Steep 1 bag of Tea on a cup for 2-3 mins
Prepare a pitcher for your Iced Tea and squeeze the Calamansi or Lemon in it removing the seeds.
Add the tea extract, sugar and cold water. Mix well.
Get a glass and fill with ice cubes before pouring in the Iced Tea.

It's so simple, healthy and you get to make more if you want without costing you a lot!

This is a summer must-have!


Wednesday, April 10, 2013

How to make your own Stylus!


Want to have a stylus for your capacitive touchscreen? 
No need to buy. Just make your own using simple household materials.


You'll need the following:
An unused pen with spring
Cotton - I used a cotton bud here, I ran out of cotton! :)
Wooden tool - this is mostly used for cleaning nails
A bit of water


Method:
Use the pointed tip portion of the wooden thingy.
Wrap a small portion of cotton on the tip enough to hug the spring into it.
Attach the spring.
Moisten the tip and the surrounding cotton attached to the spring. This will allow static to be transferred from your fingers to the stylus. Clever eh?

Note: make sure to blunt your wooden tool a bit so as not to scratch your tablet.

I tried it on my kindle fire and it works perfectly!


Thursday, March 14, 2013

My First DIY Rubber Stamps!

I said I will make these rubber stamps on my previous post about DIY Rubber Stamps and I did! Finally!
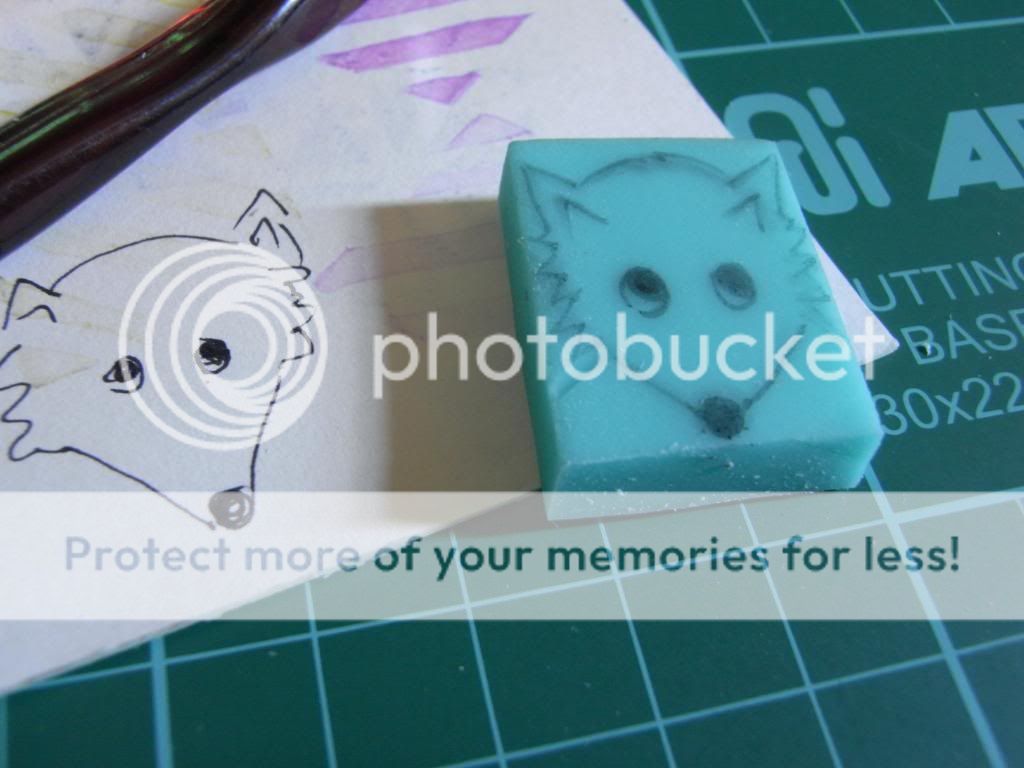
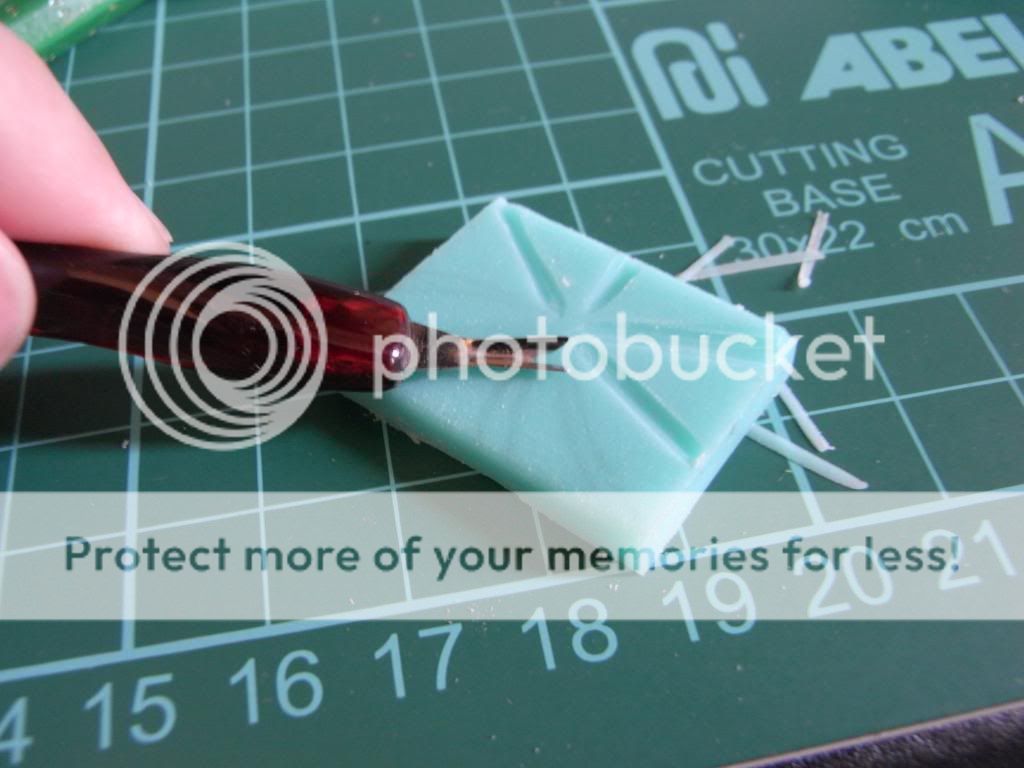
I don't have the exact tools to make these rubber stamps, I just sort of winged it with whatever stuff I have. Notice the cuticle remover. That's what I used and it works great!


Materials:
Soft Erasers (mine is 1 new eraser and 1 used eraser)
Cutter
Carving Tool (in my case, I used the cuticle remover)
Cutting mat
Stamp pad (I only have black)
To test for colored stamp, I use highlighters (mine is violet)
Notepads for sketching and testing the stamps

Method:
Think of any design you like to try
Sketch it first on the notepad, if it's a letter make sure it's the mirror version you draw.
I use the cutter to cut through the eraser so I can make a few designs.
Draw it on the eraser, don't be afraid to make mistakes.
It's my first time to do this so it's alright.
Slowly carve the surrounding shape of your design. (this is really fun & easy to do, since most erasers are very soft.
Once your shape is formed, remove excess rubber by either using the cutter or your carving tool.
I try and bend the eraser a little so I can remove excess rubber.


Here's what I have accomplished so far.


Okay, I know it's a mess, but I had fun! Try it!

Images: 1


Thursday, March 7, 2013

Currently Mad for DIY Stamps!

I have several addictions: Sweets. Sleeping late. Cute stuff......and there's probably a lot more than I think, that I have to create an entirely different post for it. Now as an addition to my cute stuff addiction (does that rhyme or what?)  I am currently crazy over STAMPS! and no, I am not talking about a Philatelist's weakness here (who am I to mock, I used to be a member of a Philatelic club when I was young and I was even sent a membership kit from the Philippine Postal Service. Now I lost my train of thought! Where were we, oh yeah, Stamps! I am talking about the rubber stamps usually attached on wood. We'll there are a TON of tutorials now that you can get online but what I've discovered in Pinterest (thank God really for this site, I have learned a lot of DIY tips here). Well I learned that you can make your own stamps, like carve them, in plain old ERASERS. Yes, you heard it right. ERASERS~ who would have thought right? DIY stamps seems so easy to do now. If only I had the tools for it. We'll that I may be able to do in the not so distant future.

For now, let's marvel at the DIY Stamps I've seen parading in Etsy currently.


I went back in forth from Etsy to Memi The Rainbow's Blog. I see a lot of these Korean made Stamps in Etsy and since Memi's work are all handcrafted they're a bit pricy but seems doable as well. She is really nice and gives out a lot of easy tutorials. Well, easy to follow tutorials are one thing, but being innately artistic and creative is another. But let's not mourn the lost of our own self-creativeness, were just a bit rusty. We need to constantly create works of art in any shape or form.

And a cute shape like this will do in this case.

Pardon me, I really should not take things literally.

If you are interested in buying these stamps, click on the image links below and you will be directed to their Etsy account. You can also check out Memi the Rainbow's blog here.

Images: 1 | 2 | 3 | 4 | 5 | 6


Friday, January 4, 2013

4 Easy Steps to Make Cold Porcelain


Here's an update to my Cold Porcelain Blog post a few years back. 

Ingredients: 
2 Cup Glue
2 Cup Cornstarch
2 tbsp Baby Oil
1 tbsp Citric Acid or Lemon Juice
1 tbsp Cold Cream (Non-greasy) or hand cream
Few drops of Acrylic to make it a different color (optional)

Tools:
Mixing Bowl & Wooden Spoon
Stove top & and Old Cooking Pot
Plastic Wrap & Ziplock Bag

First Step: MIX
Mix the acrylic, cornstarch, glue, oil and lemon juice in a bowl using a wooden spoon, until smooth. 
Transfer mixture to an old cooking pot or just mix the entire thing in the pot to skip the transferring part -- silly me. :) 
Second Step: COOK
Turn stove top on to medium low. Careful to not see any clumps otherwise adjust to low setting . 
Keep mixing. Test a bit of the mixture and see if its ready and does not stick. 
You may have to cook longer if it does. 
Third Step: KNEAD
Use the cold cream for your hands before kneading the dough.
Fourth Step: ZIPLOCK in FRIDGE for 24 hours
Place the dough in a plastic wrap and remove any air. Then put in a ziplock bag, nice and tight. You need to refrigerate this dough overnight before you can use it.

Avoiding Cracks:
It is essential to put the dough in the fridge overnight to avoid cracks. 
Plus the recipe does not include water. No water, no cracks. 
Also one major trick is kneading the cold porcelain properly. It's like Play-Doh, you work your hands and fingers into the clay until its completely elastic. 

There are tons of things you can do with a cold porcelain.
I have recently discovered an artist who does great work with cold porcelains. Check it out.


Images: 1 

LinkWithin

Related Posts Plugin for WordPress, Blogger...