
I don't have the exact tools to make these rubber stamps, I just sort of winged it with whatever stuff I have. Notice the cuticle remover. That's what I used and it works great!


Materials:
Soft Erasers (mine is 1 new eraser and 1 used eraser)Cutter
Carving Tool (in my case, I used the cuticle remover)
Cutting mat
Stamp pad (I only have black)
To test for colored stamp, I use highlighters (mine is violet)
Notepads for sketching and testing the stamps
Method:
Think of any design you like to try
Sketch it first on the notepad, if it's a letter make sure it's the mirror version you draw.
I use the cutter to cut through the eraser so I can make a few designs.
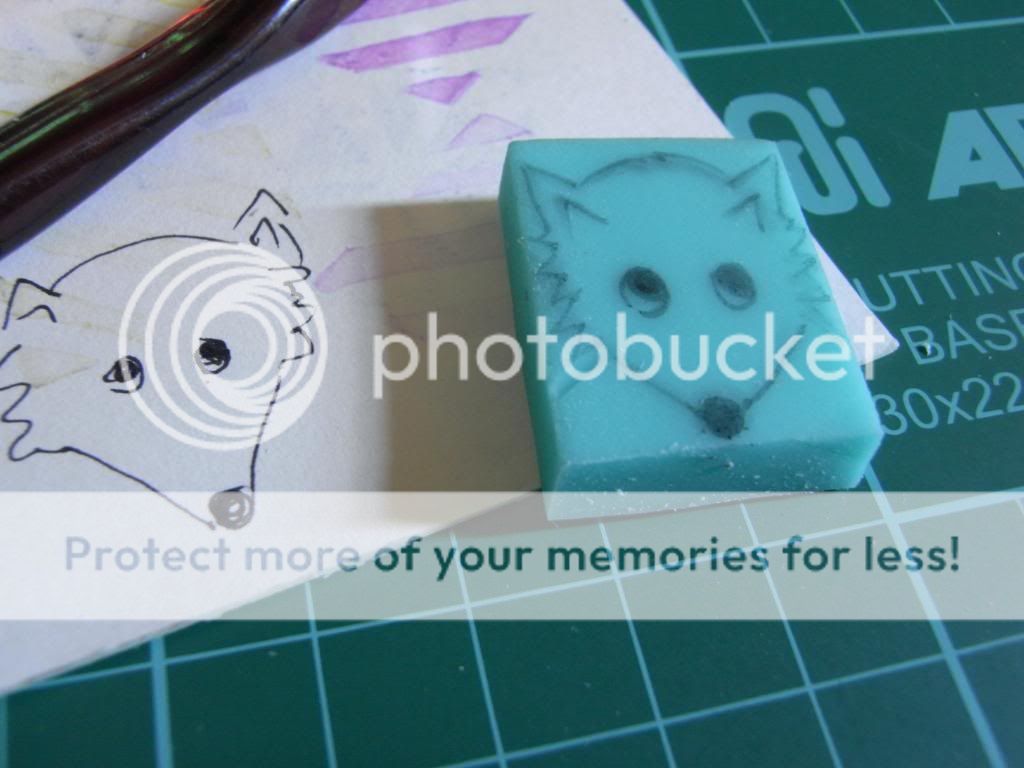
Draw it on the eraser, don't be afraid to make mistakes.
It's my first time to do this so it's alright.
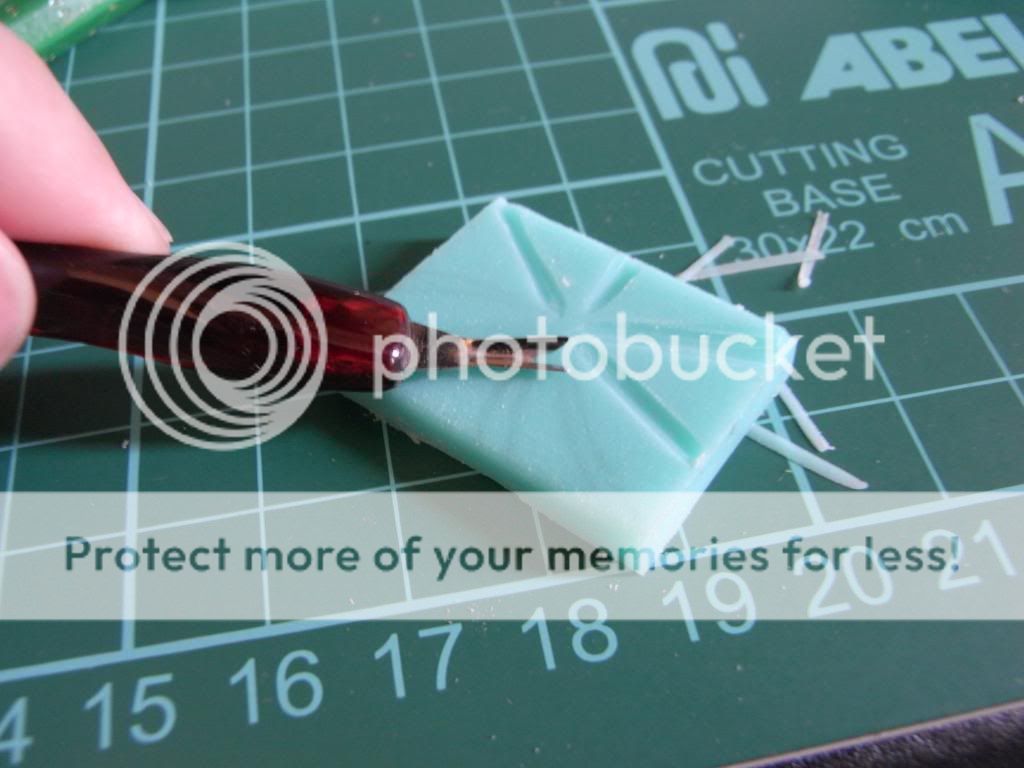
Slowly carve the surrounding shape of your design. (this is really fun & easy to do, since most erasers are very soft.
Once your shape is formed, remove excess rubber by either using the cutter or your carving tool.
I try and bend the eraser a little so I can remove excess rubber.


Here's what I have accomplished so far.


Okay, I know it's a mess, but I had fun! Try it!
Images: 1
these mini projects are great! i just hope that i have your talent and patience to do cute things like these.
ReplyDelete