Showing posts with label Crafts. Show all posts

Thursday, March 14, 2013

My First DIY Rubber Stamps!

I said I will make these rubber stamps on my previous post about DIY Rubber Stamps and I did! Finally!
I don't have the exact tools to make these rubber stamps, I just sort of winged it with whatever stuff I have. Notice the cuticle remover. That's what I used and it works great!


Materials:
Soft Erasers (mine is 1 new eraser and 1 used eraser)
Cutter
Carving Tool (in my case, I used the cuticle remover)
Cutting mat
Stamp pad (I only have black)
To test for colored stamp, I use highlighters (mine is violet)
Notepads for sketching and testing the stamps

Method:
Think of any design you like to try
Sketch it first on the notepad, if it's a letter make sure it's the mirror version you draw.
I use the cutter to cut through the eraser so I can make a few designs.
Draw it on the eraser, don't be afraid to make mistakes.
It's my first time to do this so it's alright.
Slowly carve the surrounding shape of your design. (this is really fun & easy to do, since most erasers are very soft.
Once your shape is formed, remove excess rubber by either using the cutter or your carving tool.
I try and bend the eraser a little so I can remove excess rubber.


Here's what I have accomplished so far.


Okay, I know it's a mess, but I had fun! Try it!

Images: 1


Friday, January 4, 2013

4 Easy Steps to Make Cold Porcelain


Here's an update to my Cold Porcelain Blog post a few years back. 

Ingredients: 
2 Cup Glue
2 Cup Cornstarch
2 tbsp Baby Oil
1 tbsp Citric Acid or Lemon Juice
1 tbsp Cold Cream (Non-greasy) or hand cream
Few drops of Acrylic to make it a different color (optional)

Tools:
Mixing Bowl & Wooden Spoon
Stove top & and Old Cooking Pot
Plastic Wrap & Ziplock Bag

First Step: MIX
Mix the acrylic, cornstarch, glue, oil and lemon juice in a bowl using a wooden spoon, until smooth. 
Transfer mixture to an old cooking pot or just mix the entire thing in the pot to skip the transferring part -- silly me. :) 
Second Step: COOK
Turn stove top on to medium low. Careful to not see any clumps otherwise adjust to low setting . 
Keep mixing. Test a bit of the mixture and see if its ready and does not stick. 
You may have to cook longer if it does. 
Third Step: KNEAD
Use the cold cream for your hands before kneading the dough.
Fourth Step: ZIPLOCK in FRIDGE for 24 hours
Place the dough in a plastic wrap and remove any air. Then put in a ziplock bag, nice and tight. You need to refrigerate this dough overnight before you can use it.

Avoiding Cracks:
It is essential to put the dough in the fridge overnight to avoid cracks. 
Plus the recipe does not include water. No water, no cracks. 
Also one major trick is kneading the cold porcelain properly. It's like Play-Doh, you work your hands and fingers into the clay until its completely elastic. 

There are tons of things you can do with a cold porcelain.
I have recently discovered an artist who does great work with cold porcelains. Check it out.


Images: 1 

Wednesday, December 26, 2012

How to Découpage!


Decoupage! From the French verb découper, meaning 'to cut out'. 
It is decorating a certain object by gluing colored paper cut-outs and even combining other elements such as dried leaf or anything flat that can be glued in and covering them with several coats of varnish right after. This art go all the way back from the 17th or 18th Century, however the art of Decoupage was already known in Asia way before that time. Marie Antoinette and Madame de Pompadour were among those who became practitioners of the art. Mary Delany became one of the remarkable artists during her time even chosen by the Queen Charlotte for her 
wonderfully crafted Decoupage works mostly done by hand and botanically inspired.

So how does one Decoupage?
First, you'll be needing the following:


• White Glue or Mod Podge
• Small Paintbrush
• Sponge Paintbrush
• Scissor
• Old Comics, Magazine Cut-Outs, Vintage Maps, or Cloth Patterns

Instructions: 
• Put a small amount of glue or mod podge on the prepared surface. (Surface should be clean)
• Smooth out the glue out using the sponge paintbrush.
• Before putting your cut-outs to the surface, apply a small amount of glue at the back of it
• Place it onto the surface and smooth it out to avoid any wrinkles or bubbles.
• For style you may opt to arrange your cut-outs in a horizontal direction overlapping one another, or you may just randomly place the cut-outs till all of the surface is covered.
• Apply several coats of glue over the cut-outs, making sure that each coats dry in between.
• For a glossy finish, you may use clear varnish and a final coat of acrylic sealant to make it durable.


Some Samples of Decoupage Work for Inspiration:


My personal challenge would be to do all of these myself! 
Phew, sounds like a lot of work but I will definitely post photos of my own Decoupage here. 
Be posting them soon! 


Images: 1 | 2 | 3 | 4 | 5 | 6 | 7 | 8

Tuesday, November 24, 2009

All About Cold Porcelain


For an updated version of this DIY, please follow my new post.


There are loads of benefits in having DIY projects. First you get to "Do It Yourself" and experience it first hand, you save a lot of money and the thrill of seeing your work of art, that's priceless. In a couple of tries you get better at it and if you're lucky you might even see a career of it at the end of the horizon.
One of the projects I have worked on this month is making my own Cold Porcelain Clay.
Cold Porcelain dries naturally and there's no need to bake it. Plus, the ingredients can be found right in your own home.


What you need:
3/4 cup white glue (Elmers, or even Stikwell wood glue will do)
1/2 cup water
1 teaspoon cold cream (such as Pond's - you can also use 1 sachet of any Ponds cream)
1 teaspoon glycerin - If you have trouble finding glycerin, try a drugstore's skin care aisle, or a cake-decorating store.
(Since I don't have this handy, I skipped it because I checked the Ponds sachet and it already has glycerin)
1 cup cornstarch, plus additional for dusting your hands

Assemble everything before you begin.
These are non-toxic though but I would highly suggest you use your old pan and wooden spoon for this. Don't use your best kitchen utensils as cold porcelain can be sticky.

Steps:
 Mix the white glue, water, cold cream, and glycerin in a saucepan over medium heat until it's smooth.


When it is nice and smooth add the cup of cornstarch and begin stirring continuously, you will see the mixture rapidly become stiff.


When you mix in the cornstarch it will look like cottage cheese


Then it will quickly stiffen into something that resembles mashed potatoes.
When it forms one clump and pulled away from the sides of the pan, it's done. 


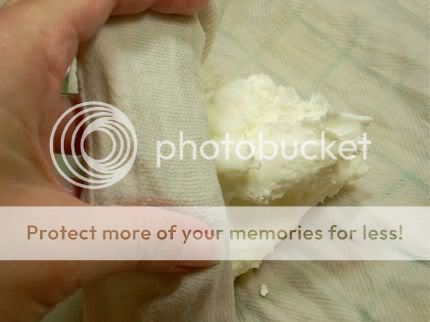
Since the clay is still very hot at this point.
Get a clean, wet dish towel over a plate and put the clay on it.
While this cools off a bit, gather the utensils used and run it with hot, soapy water.
Wash them later on. You can now knead through the clay over the wet towel.
Pause every once in a while, pulling the towel from the clay.
Dust a bit of cornstarch as you knead to avoid sticking.
When the clay is cool enough to handle, continue kneading with your hands.
Dusting with cornstarch every now and then so it doesn't stick in your hands.
You may also dust your work surface with cornstarch as needed.
After a few minutes of kneading, your clay will no longer be sticky but instead will become elastic, just like a Play-Doh clay.
If you want to add color to your clay, knead in a little acrylic or oil paint at this point. If you add the acrylic into your clay before sculpting it, it will give a more vibrant color. You can also opt for painting it all later, depending on how creative you want to be.
Place your cold porcelain clay in an airtight container (I use Reynolds ziplock plastic bags) while you proceed to wash your utensils.
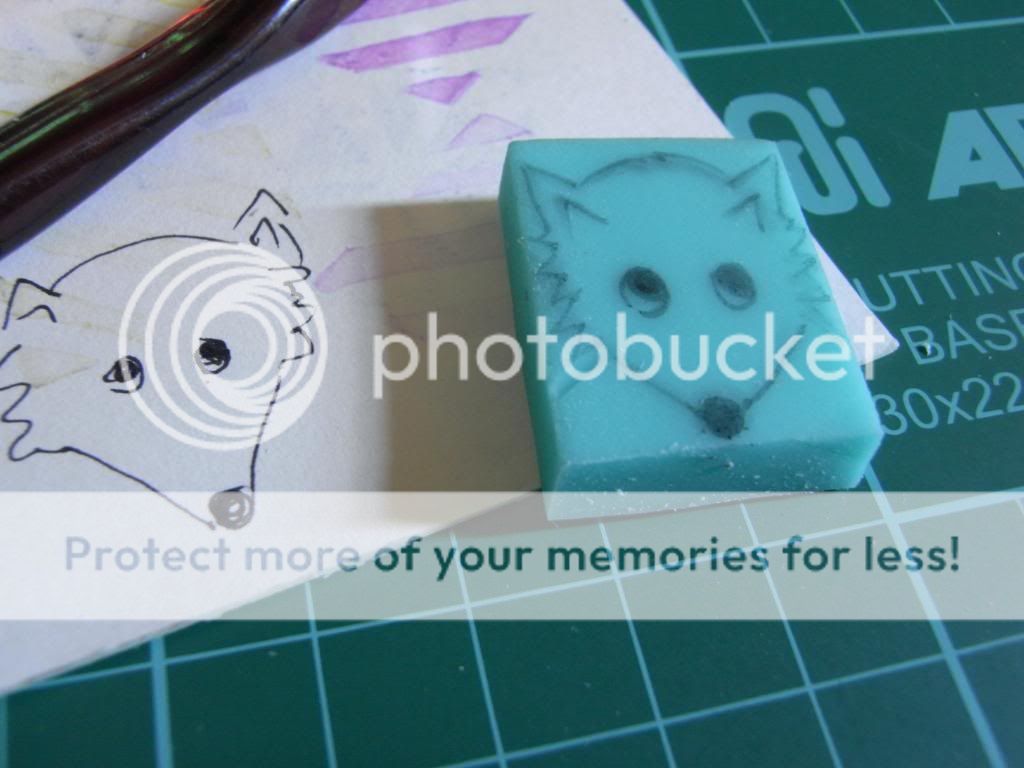
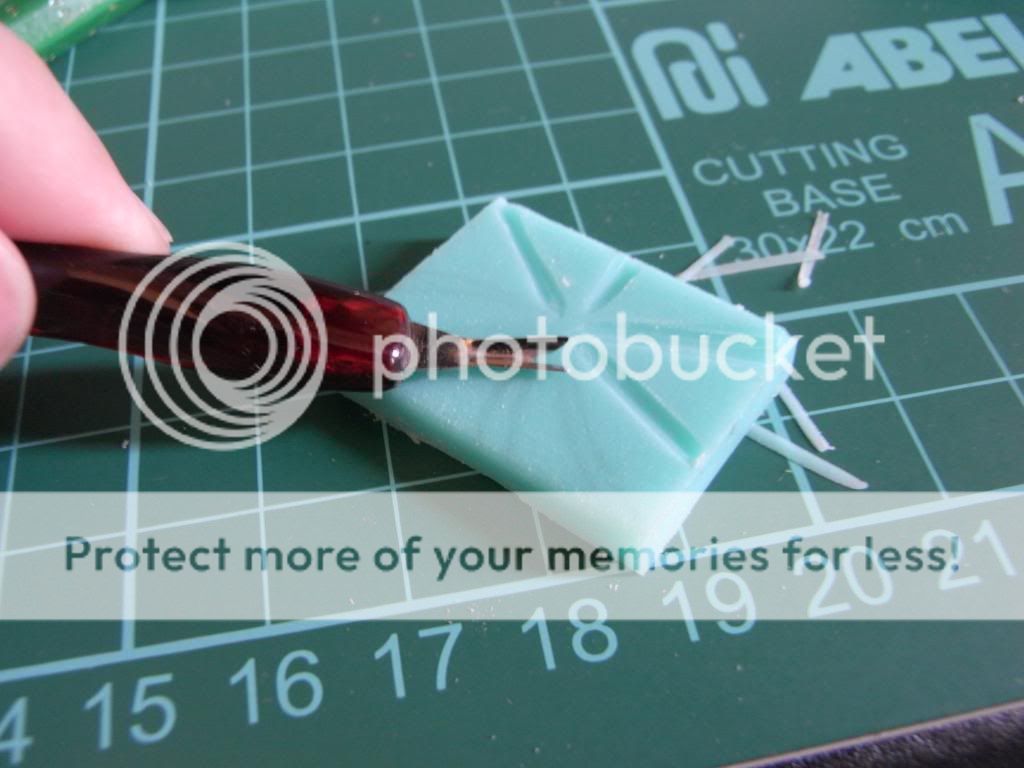
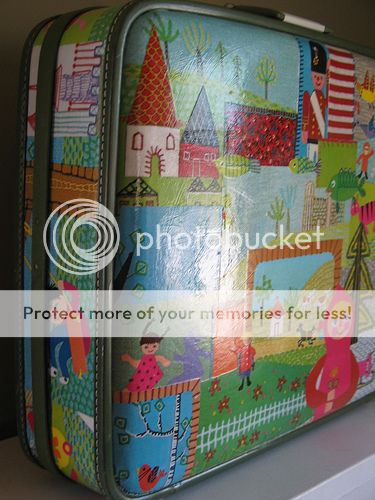
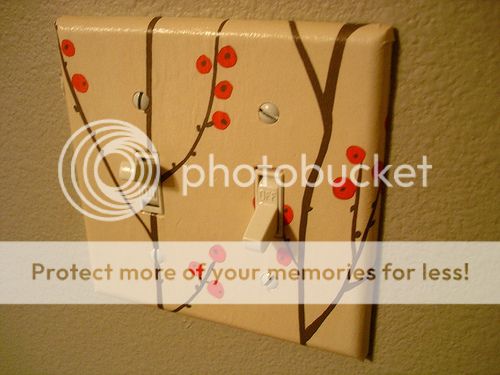
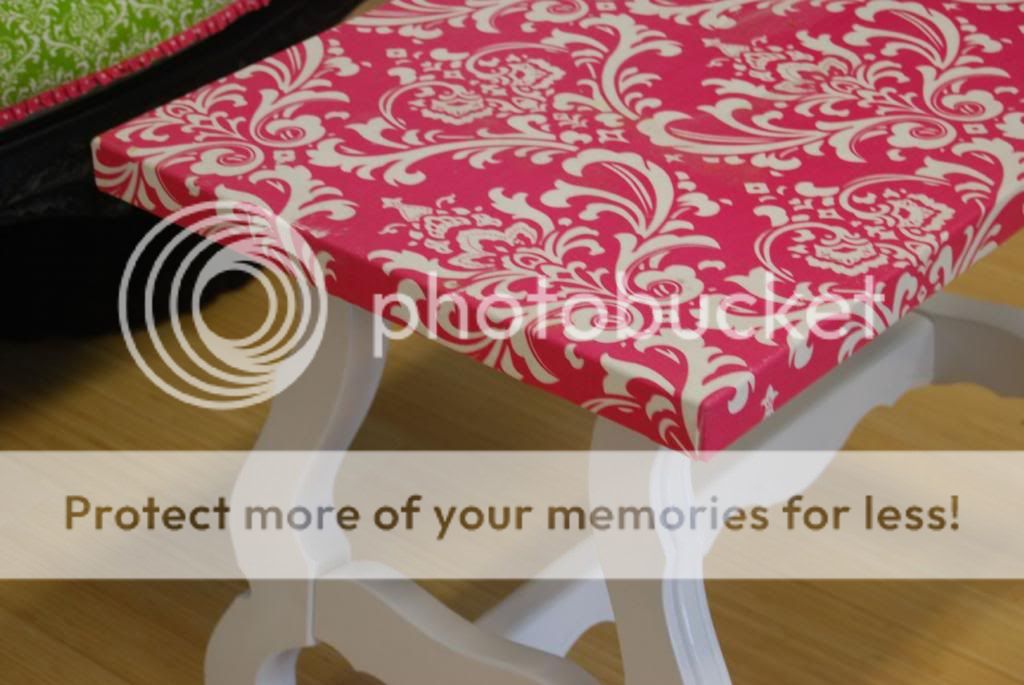
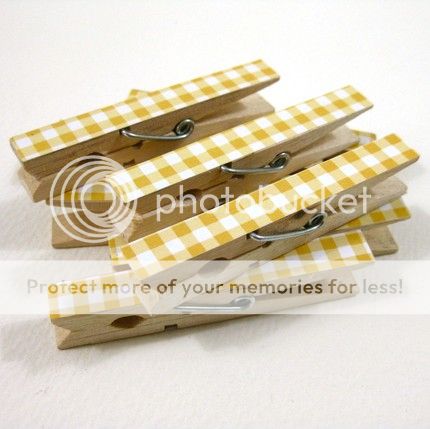
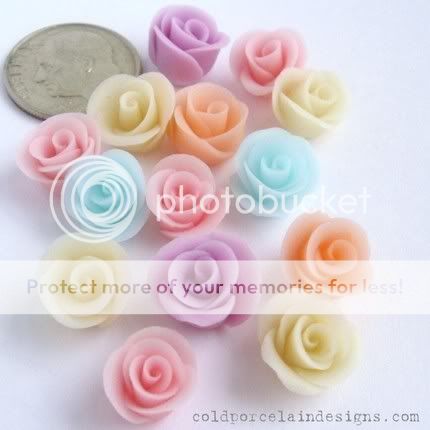
One of the many projects you can do with Cold Porcelain Clay.
These wonderfully crafted pieces are hand sculpted by Ibenia C.
These may take up to several days to dry depending on the thickness of your sculpture.
Others also encountered problems with getting cracks in their clay, some have tried excluding water in their ingredient. While some people just filled the cracks with clay (if you just want to get it done and your not after an über perfect porcelain).

(Source: Coldporcelaindesigns, Craftstylish)

LinkWithin

Related Posts Plugin for WordPress, Blogger...