Showing posts with label Art. Show all posts

Friday, March 1, 2013

If you're an artist, visit Behance.net

It's like being a child again, and getting Christmas early. I came across an artwork in Pinterest. Ok, ok, guilty as charged. I'm lurking on that site again, but then I saw a very striking illustration by Teagan White. So I clicked the original site and I wanted to comment and appreciate the art but I had to register. I am such a lazy one for registrations and stuff. Good thing, all I had to do was sign on with my Google account. And I know I'm babbling here but I just want you to know that if you are an artist or if you want to get totally inspired, get on with the site Behance. You won't regret it. 


You see me featuring a number of artists here in my blog right. 
Well now I have a portal, where I could see ALL of them. I am drowning with art right now. 

Oh no! After about a dozen clicks on who should i follow, (it's like Twitter and Pinterest for Artists) next thing I need to do is showcase my own art, no wonder it asked me what kind of artist i am. I answered, amateur artist specializing in crafts, drawings and illustration. I am so overcome with shyness! i cant' go through with it. 

I have to have a serious talk with myself now. 

Images: 1 

Wednesday, February 13, 2013

Stunning Photograph


For some reason, I can't quite keep my eyes off the image. Photographs of our generation are like paintings in the olden times. If showered with a bit of artistic quality and passion, it can leave you speechless and you will be caught in awe of the image before you, much like old paintings. I stumbled upon this gifted photographer from DeviantArt.
Click here for more of his amazing works of deviated art.

Images: 1

Friday, January 4, 2013

4 Easy Steps to Make Cold Porcelain


Here's an update to my Cold Porcelain Blog post a few years back. 

Ingredients: 
2 Cup Glue
2 Cup Cornstarch
2 tbsp Baby Oil
1 tbsp Citric Acid or Lemon Juice
1 tbsp Cold Cream (Non-greasy) or hand cream
Few drops of Acrylic to make it a different color (optional)

Tools:
Mixing Bowl & Wooden Spoon
Stove top & and Old Cooking Pot
Plastic Wrap & Ziplock Bag

First Step: MIX
Mix the acrylic, cornstarch, glue, oil and lemon juice in a bowl using a wooden spoon, until smooth. 
Transfer mixture to an old cooking pot or just mix the entire thing in the pot to skip the transferring part -- silly me. :) 
Second Step: COOK
Turn stove top on to medium low. Careful to not see any clumps otherwise adjust to low setting . 
Keep mixing. Test a bit of the mixture and see if its ready and does not stick. 
You may have to cook longer if it does. 
Third Step: KNEAD
Use the cold cream for your hands before kneading the dough.
Fourth Step: ZIPLOCK in FRIDGE for 24 hours
Place the dough in a plastic wrap and remove any air. Then put in a ziplock bag, nice and tight. You need to refrigerate this dough overnight before you can use it.

Avoiding Cracks:
It is essential to put the dough in the fridge overnight to avoid cracks. 
Plus the recipe does not include water. No water, no cracks. 
Also one major trick is kneading the cold porcelain properly. It's like Play-Doh, you work your hands and fingers into the clay until its completely elastic. 

There are tons of things you can do with a cold porcelain.
I have recently discovered an artist who does great work with cold porcelains. Check it out.


Images: 1 

Wednesday, December 26, 2012

How to Découpage!


Decoupage! From the French verb découper, meaning 'to cut out'. 
It is decorating a certain object by gluing colored paper cut-outs and even combining other elements such as dried leaf or anything flat that can be glued in and covering them with several coats of varnish right after. This art go all the way back from the 17th or 18th Century, however the art of Decoupage was already known in Asia way before that time. Marie Antoinette and Madame de Pompadour were among those who became practitioners of the art. Mary Delany became one of the remarkable artists during her time even chosen by the Queen Charlotte for her 
wonderfully crafted Decoupage works mostly done by hand and botanically inspired.

So how does one Decoupage?
First, you'll be needing the following:


• White Glue or Mod Podge
• Small Paintbrush
• Sponge Paintbrush
• Scissor
• Old Comics, Magazine Cut-Outs, Vintage Maps, or Cloth Patterns

Instructions: 
• Put a small amount of glue or mod podge on the prepared surface. (Surface should be clean)
• Smooth out the glue out using the sponge paintbrush.
• Before putting your cut-outs to the surface, apply a small amount of glue at the back of it
• Place it onto the surface and smooth it out to avoid any wrinkles or bubbles.
• For style you may opt to arrange your cut-outs in a horizontal direction overlapping one another, or you may just randomly place the cut-outs till all of the surface is covered.
• Apply several coats of glue over the cut-outs, making sure that each coats dry in between.
• For a glossy finish, you may use clear varnish and a final coat of acrylic sealant to make it durable.


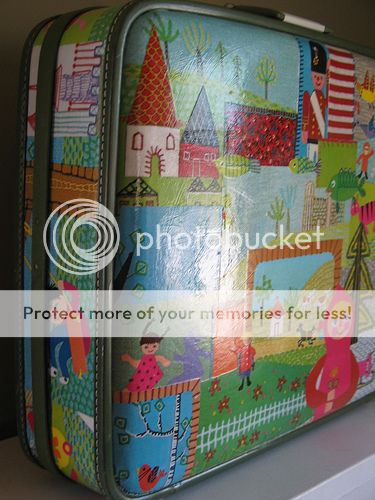
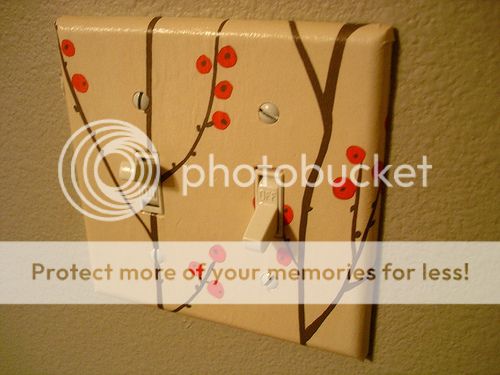
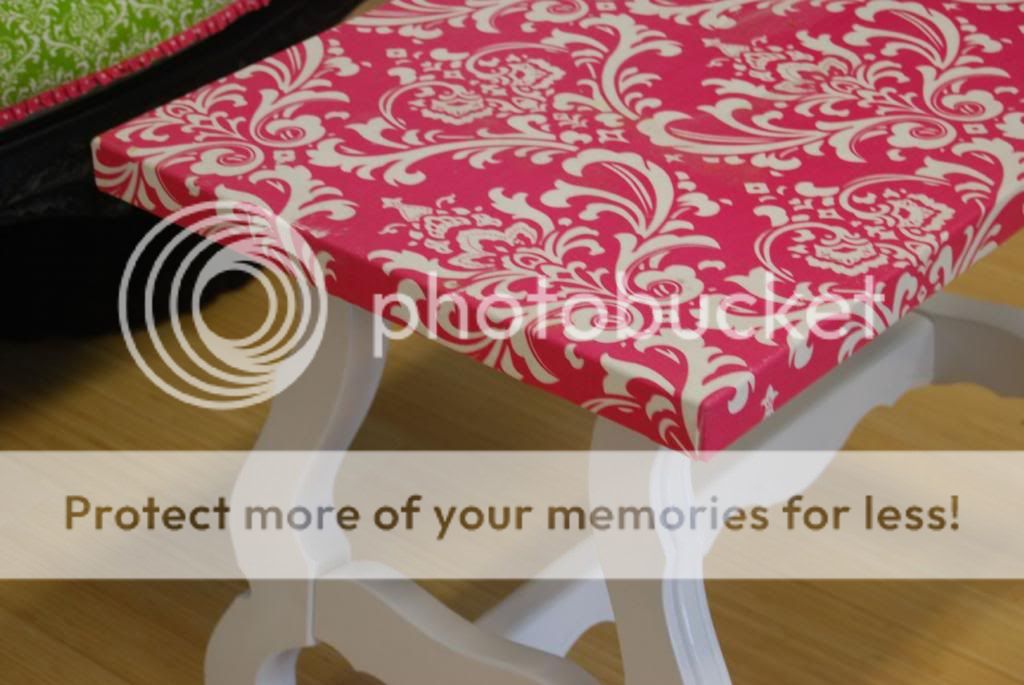
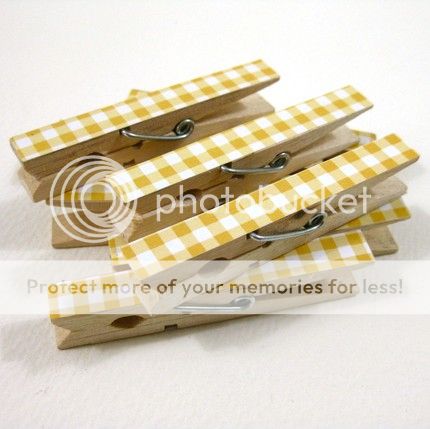
Some Samples of Decoupage Work for Inspiration:


My personal challenge would be to do all of these myself! 
Phew, sounds like a lot of work but I will definitely post photos of my own Decoupage here. 
Be posting them soon! 


Images: 1 | 2 | 3 | 4 | 5 | 6 | 7 | 8

LinkWithin

Related Posts Plugin for WordPress, Blogger...