
Showing posts with label Home. Show all posts
Showing posts with label Home. Show all posts
Thursday, January 16, 2014


Tuesday, February 12, 2013
Operation Clean House


Image: 1
Thursday, January 10, 2013
8 Space-Saving Room Tips
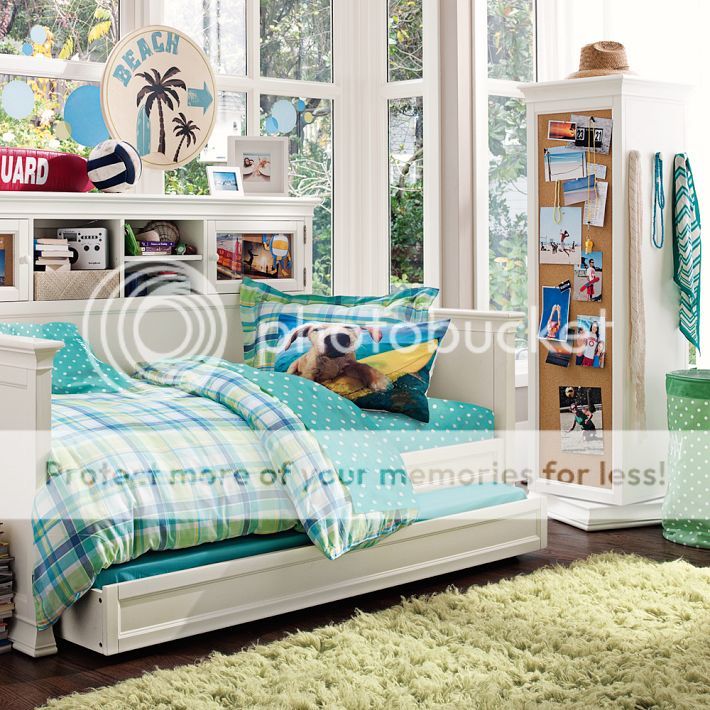
1. A pull-out bed is great for a kids room, as well as for a guest room


2. Turn a rotating bookshelf into a full length mirror with cork board and hooks to hang your bags and jackets, great for dorms or small rooms.
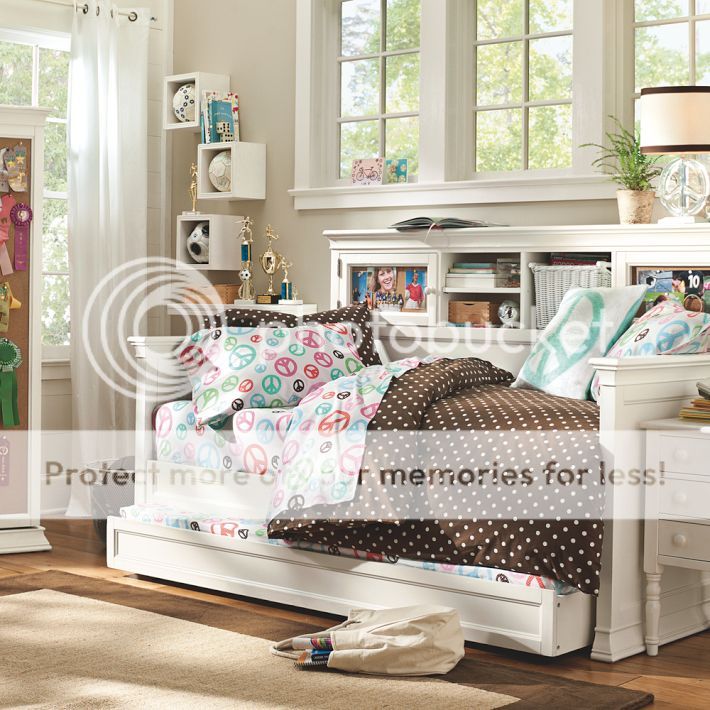
3. Utilize your headboard, make a space for pictures and books (and plants!)

4. Make use of the wall leading to the kitchen, this one made it into a storage for ceramics and some books

5. Opt for a fold-able dining chair, this one is an Ikea chair. Be creative and play with the colors. Different colored chairs are better. (Remember Monica's dining area in Friends?)

6. Use curtains as room divider, this one had two different curtains matching the kids color palette on each side.

7. Consider a shared work space, it's not only space saving, it's also practical, cause you get to share office supplies.. and it's sweet!

8. Lastly, turn a plain wall into a wall of art, the frames are not limited to pictures only, artwork is essential to put together a wonderful set like this.
Sunday, September 23, 2012
How to Pimp your Dish Rack
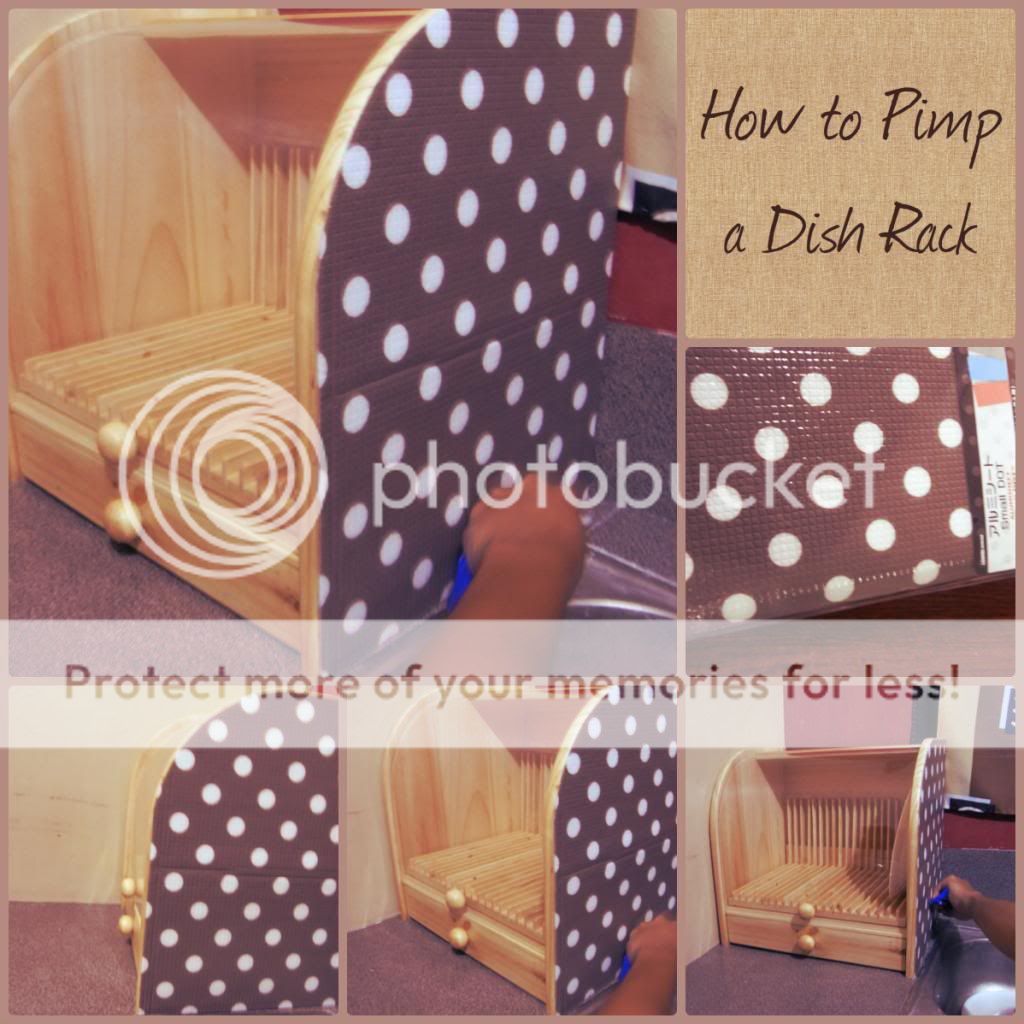
I wanted to protect the side of my dish rack from water so this is what happened.
- I bought some insulation from Japan Home, good thing it has this cool polka dot design that went with the color of my dish area.
- It's easy to put in the dish rack, but first you need to cut the insulation according to size.
- This is a bit tricky but still pretty easy, you want to turn the insulation around with the foil side facing you and cut around the edges of the dish rack's side, making sure it's fit.
- Then, just put on double sided tape on the very edge of the insulation to really make it stick to that side. Never leave any spaces empty without tape. Just so its secure, I put tape on the middle section of that insulation, vertically and horizontally.
- Smooth the whole thing into the side of the rack and make sure it's all flat.
And there you have it, all water protected and pretty!
Subscribe to:
Posts (Atom)